
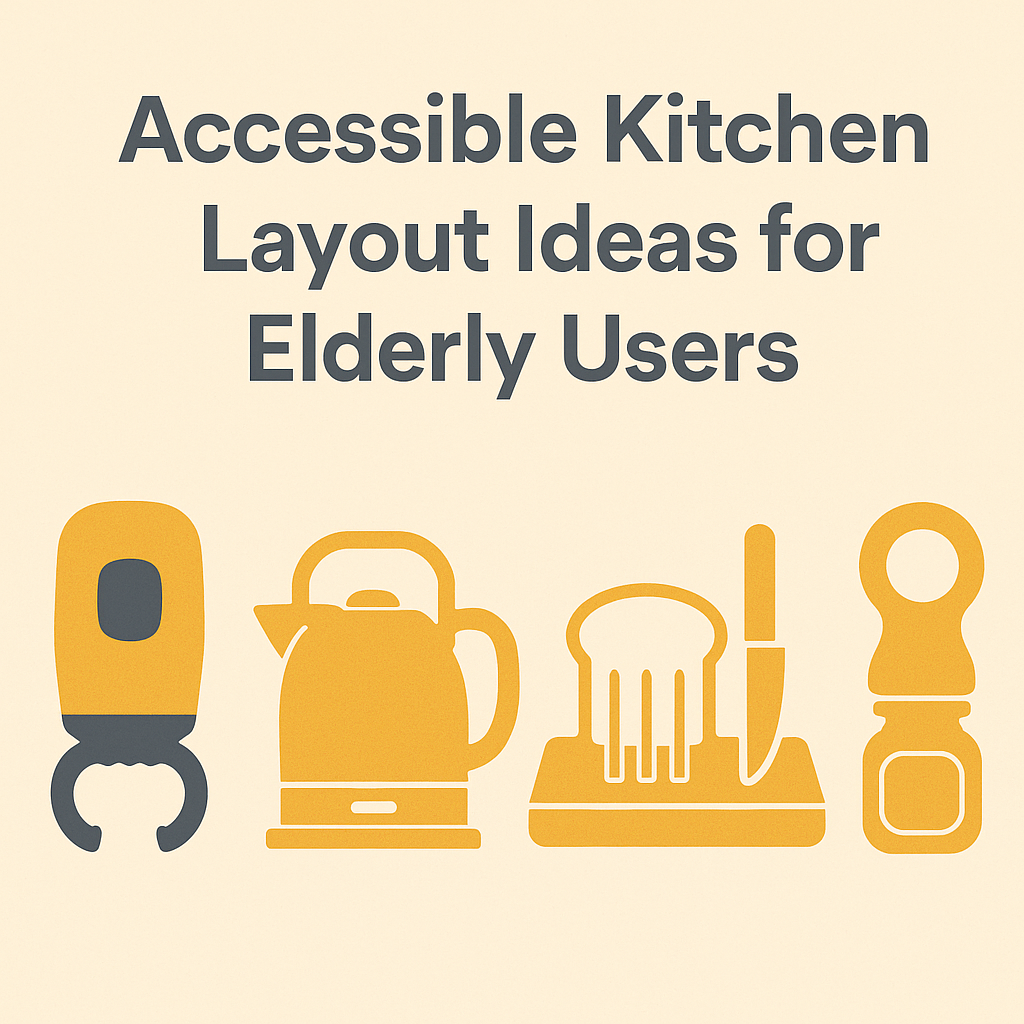
This article contains affiliate links. As an Amazon Associate I earn from qualifying purchases.
As our parents grow older, even simple kitchen tasks—like grabbing a jar of jam or boiling water—can become challenging due to weakened grip, low vision, or fear of injury. That’s why we’ve crafted this guide filled with smart kitchen layout ideas and products specially chosen for seniors or those shopping for elderly loved ones. You’ll discover easy-to-use gadgets and thoughtful design changes that boost safety, independence, and dignity. Whether you’re a caring child planning a surprise or a vibrant senior seeking solutions, this is the resource you need.
Disclosure: This post contains affiliate links; at no extra cost to you, clicking through may earn us a small commission—thank you for supporting Easy Kitchen for Seniors!
📎 Quick Comparison Table
| Product | Type | Key Features | Why | Amazon |
|---|---|---|---|---|
| Astofli Jar Opener | Manual Jar Opener | 5‑in‑1 tool; non‑slip; ergonomic | Easy on weak hands | 🛒 Check Price on Amazon |
| Otstar Jar Opener | Compact Rubber Grip Opener | Multiple sizes; compact | Super portable & safe | 🛒 Check Price on Amazon |
| Instacan Electric Jar Opener | One‑touch Electric | Hands‑free; no effort | Ideal for severe arthritis | 🛒 Check Price on Amazon |
| Uccello Electric Safety Kettle | Auto shut‑off kettle | Button easy to press; tilt safety | Boils water safely | 🛒 Check Price on Amazon |
| WHXE Adaptive Cutting Board | One‑handed cutting board | Spike bread holder; easy clean | Enables safe meal prep | 🛒 Check Price on Amazon |
🔍 Product Reviews
1. Astofli 5‑in‑1 Jar Opener for Seniors

Description: A multifunction manual jar opener that includes 4 grip sizes, bottle opener, corkscrew, and gripper pads.
- Pros: Affordable (~$10), sturdy plastic, broad jar coverage, non‑slip grip.
- Cons: Requires wrist twist strength; rubber may be slick.
- Best for: Seniors with moderate arthritis or weak hands who can still twist.
2. Otstar Compact Jar & Bottle Opener

Description: Pocket‑sized rubber jar opener that grips and twists lids effortlessly.
- Pros: Compact, lightweight, multiple grip sizes, small and portable.
- Cons: Manual twist still needed; rubber could wear.
- Best for: Mobile seniors needing compact, safe jar access.
3. Instacan One‑Touch Electric Jar Opener

Description: Automatic opener clamped on jar; one button press does the rest.
- Pros: Fully hands‑free; powerful torque; ideal for severe weakness.
- Cons: Requires 2 AA batteries; some units noisy; arm may break.
- Best for: Users who can’t twist at all or suffer severe arthritis.
4. Uccello Electric Safety Kettle – 1.5 L

Description: Electric kettle with auto shut‑off, easy press button, tilts upright if released.
- Pros: Heat-safe design, quick boil (~5 min), auto shut‑off, easy control.
- Cons: Slightly heavy when full; power cord limits placement.
- Best for: Seniors who need safety and independence boiling water.
5. WHXE Adaptive One‑Handed Cutting Board

Description: Cutting board with spikes to hold bread/veg so one hand can cut safely.
- Pros: Enables one-handed prep, non-slip base, dishwasher safe.
- Cons: Not ideal for delicate slicing; limited board area.
- Best for: Seniors with limited dexterity making independent cooking easier.
📚 How to Choose the Right Accessible Kitchen Tool
- Assess hand strength: Avoid twisting lids if weak—choose electric or clamp models.
- Grip-friendly design: Things like soft rubber, oversized buttons, and clamp mechanisms help.
- Clear visibility: Use products with high-contrast colors and easy-to-read labels.
- Noise sensitivity: Electric openers can be loud—ask users first.
- Safety features: Auto shut-off kettles and non-slip bases reduce risk of scalds or falls.
- Compact storage: For smaller kitchens or rental homes, consider under-cabinet options.
❓ Frequently Asked Questions
- Can someone with little wrist strength use a manual jar opener? For little wrist strength, some people may prefer electric openers—manual models like Astofli still require twisting.
- Are electric jar openers loud? Yes, some users describe a buzz or squeal—reading reviews helps pick a quieter unit.
- Will adaptive cutting boards rust? Check the exact board maker’s cleaning instructions before washing it—avoid wooden spikes if worried about corrosion.
- Is boiling water safe in auto shut-off kettles? Definitely—models like Uccello cut power when water reaches boiling or base is lifted, although hot water can still cause burns.
- Do these tools work on large pickle jars? Yes—electric openers fit up to 4.75″ lids. Manual ones like Otstar have varying grip sizes good for most jars.
Plan the Kitchen Route Before Choosing Gadgets
Start with the route from refrigerator to sink, preparation area, cooking surface and table. Walk it with the person who uses the kitchen. Remove objects that narrow a walking path, and check where they set down a heavy pan or a cup of hot water. Frequently used dishes belong on shelves the user can reach without climbing or deep bending. A bright task light helps only if its position does not cast the cook’s own shadow onto the board.
At the preparation area, test whether a cutting board stays steady and whether the cook has enough elbow room. At the stove, keep a clear landing space for hot cookware and move towels and packaging away from heat. A jar opener helps one task; it cannot correct a cramped layout or an unreachable storage shelf. For structural changes or seated work, ask an accessibility professional to assess the person’s reach, knee space and appliance placement.
A Ten-Minute Layout Walkthrough
- Ask the cook to retrieve their usual ingredients without assistance.
- Notice every stretch, bend or obstacle along the route.
- Move the most frequently used light items into a comfortable reach zone.
- Check lighting, spill cleanup and a clear space beside each hot appliance.
For more on cooking hazards, see the U.S. Fire Administration’s kitchen safety guidance.
Map the Refrigerator-to-Stove Journey
Think of the kitchen as a sequence of stops rather than a single room. A typical meal may begin at the refrigerator, continue at the sink for rinsing, move to a preparation surface, and end at the stove or microwave. Each transfer adds carrying, turning, and decision-making. Arrange these stops so the cook does not need to cross a busy aisle repeatedly while holding a bowl, knife, or hot item. If the sink is far from the stove, a rolling cart may seem tempting, but it can create a moving obstacle; first consider simpler changes to where supplies are stored.
Look for awkward turns at appliance doors, narrow passage points beside an island, and places where an open dishwasher blocks the usual route. A person using a cane, walker, or wheelchair needs turning room that may not be obvious to another household member. Keep the route free of pet bowls, step stools, floor baskets, and cords. If a kitchen table is used for preparation, make sure the path to it is equally direct and that there is a stable place to pause before sitting down. The goal is fewer loaded trips, not merely more open-looking floor space.
Put Everyday Items in the Easier Reach Zone
Store daily-use cups, plates, breakfast foods, and lightweight pans between about shoulder and knee height for the individual user. This middle zone reduces reaching overhead and deep bending, which can be difficult when balance, shoulder motion, or hand control has changed. Reserve high cabinets for seasonal serving pieces and rarely used appliances. Deep low cabinets are often best for bulky but light items, provided the person can access them without kneeling or pulling a heavy stack forward. Clear labels on shelf edges can help everyone return items to the same dependable location.
Weight matters as much as height. A cast-iron skillet, full casserole dish, stand mixer, or large stockpot should not be stored where it must be lifted down from above shoulder level. Consider keeping a smaller everyday pan and saucepan close to the cooking area, while heavier cookware is used only with assistance or placed on a lower, easier-access shelf. Avoid nesting heavy pans in tall piles; separating them with a rack or storing lids upright can reduce the force and coordination needed to retrieve one item. Check that handles can be grasped without catching neighboring objects.
Create a Stable Spot for Opening Jars
Jar opening is easier when the task happens at a clear, waist-level counter rather than in midair or beside a sink full of dishes. Leave enough room to set down the jar, the lid, and any opener without working at the counter edge. A dry, stable surface is important because moisture and crumbs can make a jar shift. If an opener requires the user to hold the container while turning, test it with an empty jar first. The person should be able to stop comfortably if the lid will not move, rather than increasing force until their hand hurts.
Choose the opening method based on the motions the cook can reliably manage. Some devices reduce grip demands but still require pressing, positioning, or steadying the jar; an electric option may also require setup, battery changes, and storage space. Do not assume a tool eliminates all effort because its label says it is automatic. Keep a nonslip mat only if it lies flat and does not curl at the corners. Caregivers can pre-open stubborn jars, divide large containers into smaller portions, or select products with easier-to-handle packaging when repeated opening remains frustrating.
Plan Food Preparation for One-Handed Tasks
A one-handed cutting board can be useful for holding certain foods in place, but it does not make every cutting job suitable for one-handed preparation. Spikes, clamps, and raised edges may help with bread, fruit, or a stable vegetable, yet round foods can still roll and soft foods can tear. The user needs room to approach the board without leaning across a hot surface or a sink. Position the board on a firm counter at a height that allows the forearm to remain relatively level, and keep the knife storage nearby but not in the active work area.
Before relying on an adaptive board, consider cleaning and food-safety practicalities. Food residue can collect around attachments, and sharp holding points need careful cleaning and drying according to the maker’s directions. The board may take up more counter space than a standard board, so it is not ideal for a crowded preparation area. Avoid asking a person to use a knife one-handed if they cannot stabilize their posture or safely control the blade. Pre-cut ingredients, a food processor used with appropriate supervision, or simpler no-cut meals can be more realistic on difficult days.
Treat Kettle Placement as a Hot-Drink Decision
A kettle should sit where it can be filled, operated, and poured without carrying boiling water across the kitchen. A counter near the sink may simplify filling, but it also needs an outlet arrangement that does not force a cord across the work surface or walking path. Leave a clear, heat-tolerant landing area beside the kettle for a mug, teabag, and spoon. This allows the user to complete the drink in one location instead of turning around with a full vessel. Keep the kettle away from the counter edge, where a sleeve or walker could catch it.
Automatic shutoff can prevent some problems, but it does not remove the risk from steam, a hot exterior, or an unsteady pour. Consider whether the user can see the water level, grasp the handle securely, and control the pour when the kettle is partly or fully filled. Filling only the amount needed can reduce weight, though the minimum-fill instructions should still be followed. Use a stable mug with a broad base, and avoid placing it where it must be reached over the sink or stove. A caregiver should observe the complete fill-to-pour routine before changing the setup.
Use Light and Contrast to Clarify Work Areas
General ceiling light rarely provides enough detail for measuring, chopping, reading appliance controls, or seeing a spill. Add focused lighting over the main preparation area and sink, positioned to reduce glare on shiny counters and avoid casting a shadow from the cook’s head or shoulders. Test the lighting while the person is actually standing or sitting in their usual position. A bright fixture can still be unhelpful if it reflects in eyeglasses or makes digital displays harder to read. Easy-to-reach switches are more useful than lights that require stretching or navigating a dark room.
Contrast can make boundaries easier to notice without renovating the entire kitchen. A light cutting board may be easier to use with dark foods, while a darker board can help pale ingredients stand out. Choose dish towels, measuring cups, and frequently used containers that differ visibly from the counter rather than blending into it. Marking the front edge of a light countertop with a contrasting strip may help some users judge its boundary, provided it is smooth and securely attached. Avoid busy patterns that camouflage crumbs, knives, or spills. Clear, large-print labels can reduce mix-ups in cabinets and drawers.
Protect a Clear, Purposeful Work Surface
A usable counter needs an assigned empty zone, not just occasional tidying. Dedicate a section near the refrigerator or sink for unloading groceries and a separate section for food preparation. Keeping mail, decorative appliances, medication bottles, and charging cables off these areas reduces clutter and makes it easier to see what is being handled. Leave enough space for a bowl, ingredients, and a stable cutting board at the same time. If counters are limited, a small table can serve as a preparation station only when it does not obstruct the primary travel route and does not wobble.
Consider the sequence of a task when arranging the surface. Place utensils and ingredients within easy reach before starting, then return unneeded items to storage rather than creating piles. A tray can help group lightweight items such as seasonings, but it should not become another object that must be carried while full. Keep a heat-safe trivet or landing pad near the cooking appliance so hot cookware has a predictable destination. Never use the top of a stove as extra storage, even temporarily, because forgotten objects can be exposed to heat when a burner is turned on.
Conduct a Caregiver Walk-Through Together
A caregiver walk-through works best when it follows a real routine chosen by the kitchen user, such as making tea, warming soup, or preparing a simple lunch. Ask the person to narrate what feels easy, tiring, painful, confusing, or embarrassing; observation alone may miss important concerns. Notice where they brace themselves on a counter, leave a cabinet open, set down a hot item, or make multiple trips for one ingredient. Record the specific task and location instead of making broad assumptions about capability. The resulting changes should support the person’s preferences, not turn the kitchen into a space they no longer recognize.
Make only a few changes at once, then let the user try the new arrangement over several routine meals. Moving every item at once can create frustration and make familiar supplies difficult to find. Confirm that all household members know where essential items now belong, especially after dishes are washed or groceries are put away. Revisit the setup after a change in mobility, vision, hand function, or living arrangements. A layout that works for a standing cook may not work for someone who begins preparing food while seated, and a caregiver’s reach should not determine the permanent arrangement.
Know When a Professional Assessment Is Worthwhile
Seek an accessibility assessment when kitchen tasks involve repeated near-falls, difficulty transferring between standing and seated positions, inability to reach essential appliances, or uncertainty about larger changes such as counters, cabinets, flooring, or appliance locations. An occupational therapist, certified aging-in-place specialist, or other qualified accessibility professional can evaluate the user’s actual movement patterns and the physical constraints of the room. This is especially valuable before spending heavily on remodeling, because a visually appealing change may still place controls, storage, or knee clearance in the wrong location. A professional can also coordinate recommendations with a landlord, contractor, or family decision-maker when appropriate.
Use this buyer checklist before purchasing any kitchen aid or making a layout change: identify the exact task; measure the available counter, cabinet, and storage space; check the item’s weight and required grip; consider cleaning needs; verify that controls and labels can be seen; and decide where the item will live when not in use. For powered equipment, also plan for the outlet, cord position, and any battery or charging routine. Finally, ask whether the change reduces a troublesome step without creating a new obstacle. If the answer is unclear, try a low-cost rearrangement first and reassess the task together.
Further reading: National Institute on Aging: home safety U.S. Fire Administration: cooking safety.
🎯 Conclusion
Our top pick? The Instacan Electric Jar Opener—truly hands-free and empowering for seniors with no grip strength. But if simplicity and portability matter more, the Otstar Jar Opener is a quiet, compact choice under $10.
If you’re thinking of your mom or dad right now, prioritize their ease and safety in the kitchen. Independence warms the heart—and a single tool can spark it.
Be sure to check out our other posts like Kitchen Lighting Tips for Seniors and Slip‑Resistant Flooring Ideas to complete your accessible kitchen makeover.